How To Make Vinyl Plank Flooring Last Longer
If you have a house full of kids and pets and you’d like your flooring to look nice for longer than one season, vinyl plank flooring is a great flooring choice.
This durable option has risen in popularity over the last few years, and it’s something you’ll see more and more in modern construction and renovation projects alike. People love it because it looks like hardwood, but involves much less caretaking (and it’s a lot more affordable!).
Knowing how to keep your flooring looking brand new is how to make the most of your investment. Luckily for those with vinyl plank floors, maintenance is super easy! There are just a few tips and tricks to keeping it clean and making it last.
Thin vs. Thick Vinyl
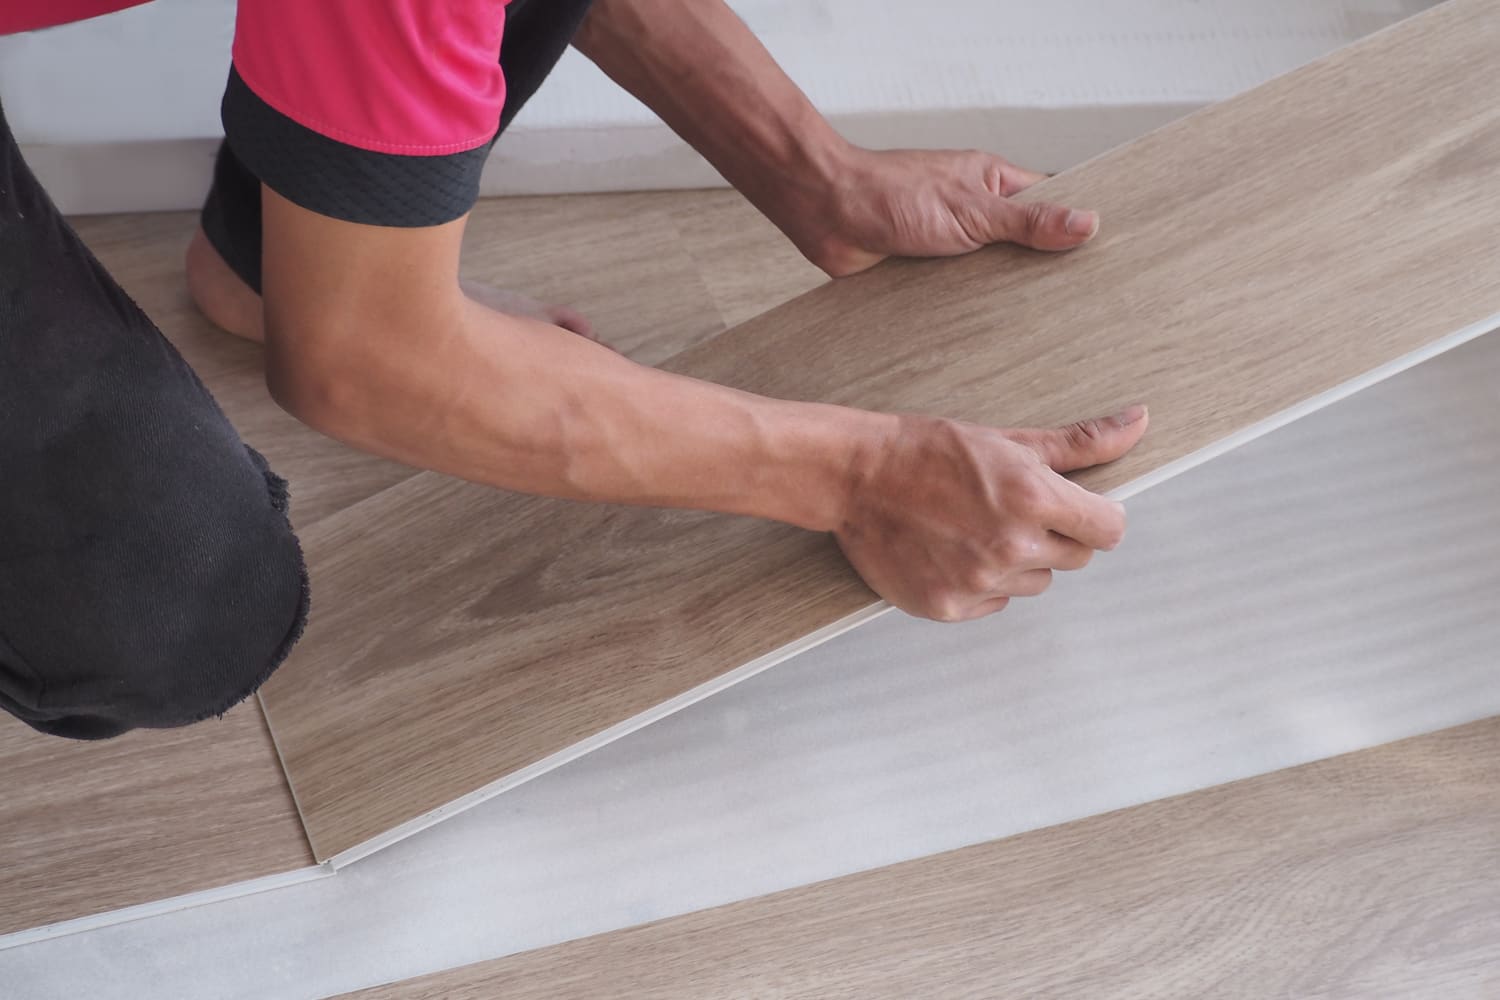
Luckily, no matter the thickness, vinyl flooring is easy to install. You can even place it over imperfect subfloors and that won’t affect its final quality. Whether you choose thick or thin vinyl, DIY installation is available, which makes it all the more affordable. (Just make sure not to leave any particles behind if you do the job yourself because they could create bumps or warps in the future.)
But there’s something you should know about the thickness of vinyl – thickness actually plays a big part in how long it lasts. Thicker options can sometimes last up to 25 years, while thinner floors might only last 5-10 years.
If the goal is for your floor to last as long as it possibly can, choose thicker vinyl.
Maintain a Cleaning Routine
Just like every other floor, cleaning your vinyl on a daily basis (or every other day) ensures that it stays pristine for a long time. Dirt, if left for too long, acts like sandpaper when moved around by foot traffic and will eventually wear the finish off your vinyl, leading to premature aging of the floor.
Here’s the good news: for daily cleaning, all you need is your vacuum cleaner! Just suck up the dirt and get on with your day.
Remember to Deep Clean
About once a month or so, forego the vacuum and treat your vinyl to a deeper clean with a mop. Put some dish soap and warm water in a bucket (you can add some white vinegar if you want the floors to sparkle), and make sure to dry the floor thoroughly once you’re done. This deep clean takes care of the nooks and crannies that the vacuum just can’t reach.
When you’re cleaning, here are a few products to avoid, as they can damage the surface of your vinyl:
• Bleach
• Ammonia
• Detergents high in pH
• String mops
• Mops with a built-in scrub brush
• Steam cleaners
Here are some products that are always safe to use on your vinyl:
• pH-neutral cleaners
• Mild dish soap
• Microfiber mops
• Swiffer mops
Don’t Wax, Use Finish Instead
While vinyl flooring doesn’t require wax, an acrylic finish pulls its weight in strengthening high-traffic areas of the floor. Regular floor wax requires a special buffing tool to apply, but the acrylic finish is a liquid that only calls for a mop and a bucket. This finish adds shine, along with a protective barrier, to parts of your floor that see the most activity. It’s no secret that such a finish can help your vinyl last longer.
Whatever you do, though, don’t apply an acrylic finish with a high-speed burnisher. Such a method will penetrate and damage the wear layer of the floor, and it could even cause the layers to come apart over time. That will lead to eventual deterioration of the floor itself. To apply an acrylic finish, slowly buff it onto your vinyl to see the shine come to life.
Making Your Vinyl Last
Vinyl is predisposed to lasting for a long time. As long as you invest in planks with the right thickness for your home and follow these maintenance tips, your vinyl should last for many, many years.

If you're in the market for flooring feel free to contact Goshen Floor Mart. Remember, we are always happy to provide you with a free estimate. Call us today at 574.642.4770 or contact us here