Installing Laminate Flooring: The Complete Guide
If you’re a beginner in the world of flooring, then installing laminate flooring is a great place for you to start. Unlike other types of flooring, laminate doesn’t require grout, adhesives, or nails; it simply snaps into place. Laminate floats above your subfloor or underlayment and doesn’t need to be attached to either. Our complete laminate flooring guide will set you up with all the knowledge you need in order to get started laying flooring in your home (or a friend’s).
REMOVE YOUR BASEBOARDS
After you’ve moved all of the items out of the room you’re going to be flooring, the next step will be to remove your baseboards, air return covers, and registers. Take caution not to damage the wall or the molding when removing your baseboards and trim. Set these pieces aside to reinstall after you’ve finished or discard them if you plan to replace them.
PREPARE YOUR DOOR JAMBS
If you have door jambs to work around in the room you’re laying your laminate flooring, you’ll need to trim them. It’s easier to cut away the door jamb than it is to measure and attempt to cut your flooring to the intricate angles of the door jamb.
Lay down a piece of underlayment (if you’re using it) and a piece of flooring next to your jamb to measure the height of your cut. After trimming your door jamb, the laminate should easily slide underneath.
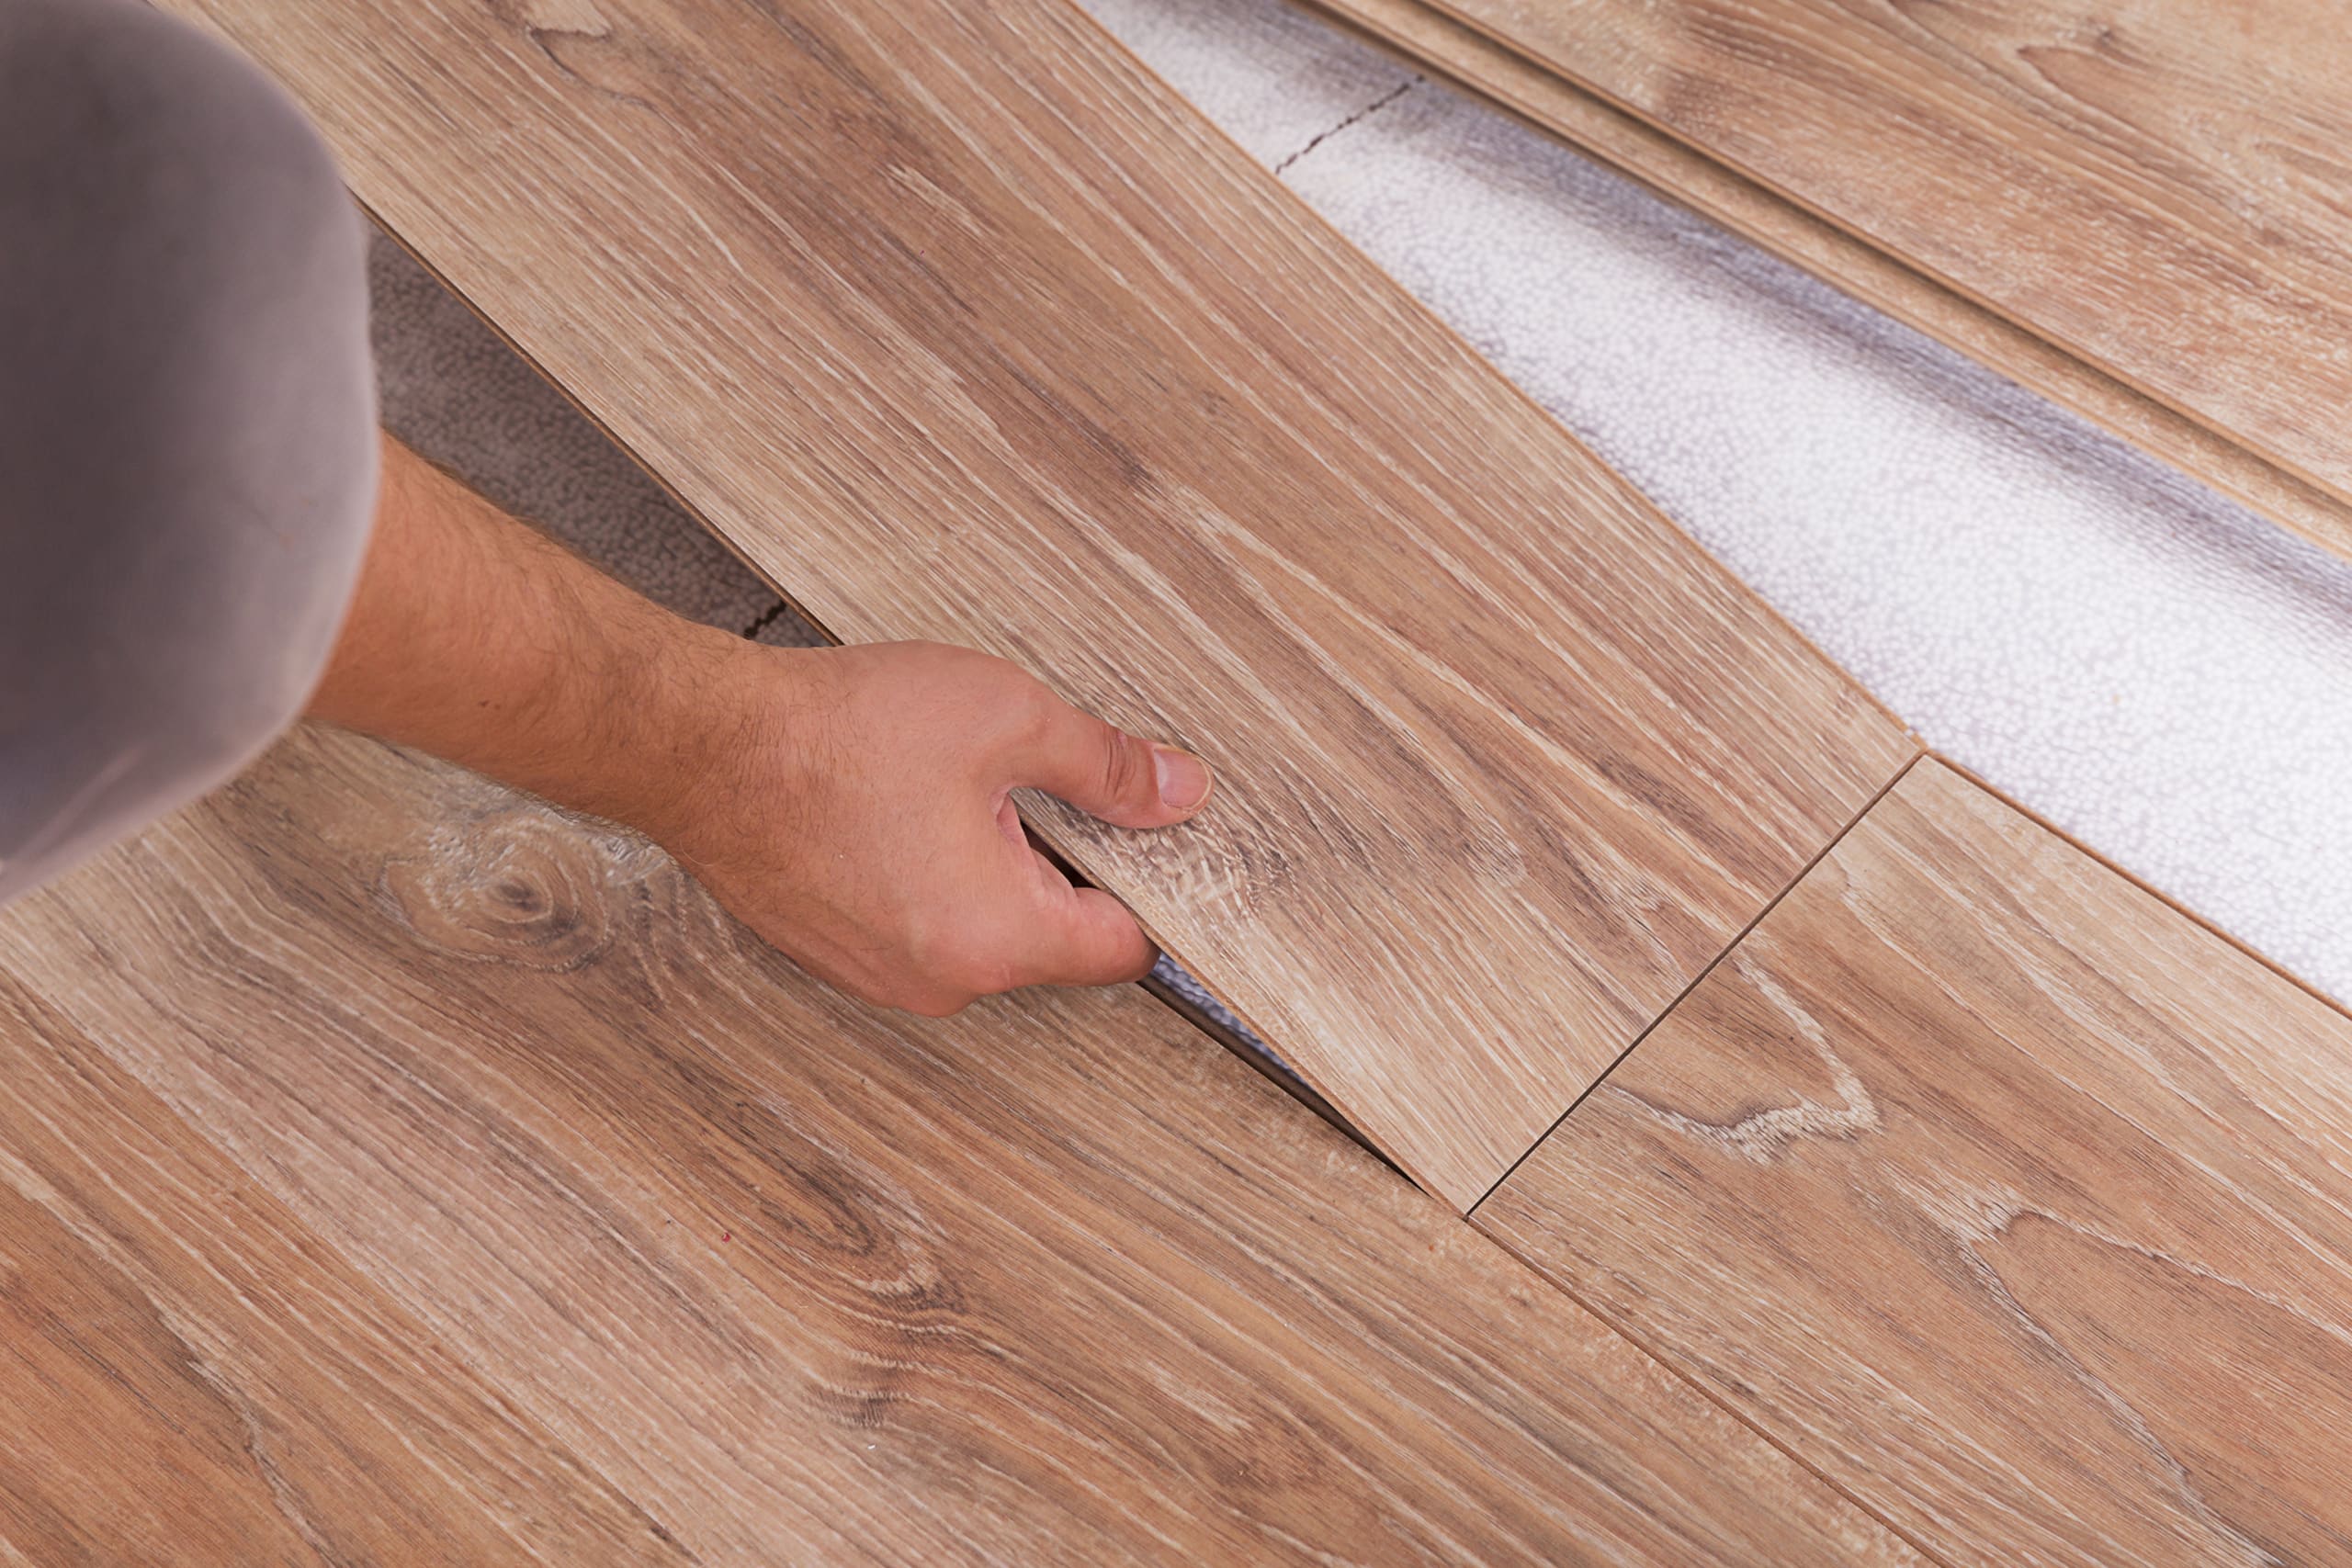
PREP THE FLOOR
Laminate can be placed directly over your old flooring if it’s smooth, clean, and flat. Sweep or vacuum the floor afterward you’ve removed the baseboards, trim, and any hardware to pick up any loose particles.
An underlayment of foam can be placed down over your floor if it’s flat and smooth. This acts as a layer of cushioning for the laminate. If your floor is damaged, you may need to place a rigid layer of underlayment down between your soft layer and your current flooring.
PLAN THE EXPANSION GAP
Your flooring will naturally expand due to humidity in your home. You’ll need to leave a spaced gap around your room to compensate for this expansion. The manufacturer of your flooring will give you guidelines on the right sized gap for your flooring, but it should range from ¼ inch to ⅜ inch.
PLAN THE LAYOUT
It’s always best to calculate out the area of your room to plan out how many planks and rows of laminate flooring you’ll need. However, if your room is small, you may be able to simply lay out your flooring in your room. You’ll want to install your flooring parallel to the longest wall or parallel with a focal point in the room, like a fireplace.
You don’t want your final row to be narrower than 3½ inches wide so you leave enough room for the plank to flex and expand and avoid an off-balance appearance. To calculate the width of your final plank, measure the width of your room from the longest side wall (from the wall that is parallel with your plank rows) and then divide that number by the width of a plank. Remember to subtract the amount of space you’re leaving for your expansion gap from your calculation. If your final plank will be less than 3½ inches wide, trim your first row of boards to compensate.
START YOUR FIRST ROW OF PLANKS
Cut the tongue off of your first row of planks that will face the wall and/or trim your planks to the correct width as needed. If you need to lay down a layer of underlayment, place it down now. Lay down two rows of underlayment side-by-side (there should be no overlap) and tape it together using duct tape or the adhesive included with your underlayment. Install your spacers against the wall and then lay down your first row of laminate flooring.
LAY THE NEXT ROWS
You want to offset your rows from here on out to make sure that you don’t end up with an H joint in your flooring; make sure the rows are staggered so the seams never line up.
Stagger the seams at least 12 inches away from one another to ensure the stability of your flooring. After snapping each piece of flooring into place, you can ensure it’s securely in place by using a hammer and tapping block.
As you get to the end of each row, you may be able to use the remaining cut-off piece to begin your next row, if it’s longer than 12 inches.
LAY THE FINAL ROW
The final row of planking can be a little tricky to tap into place because you’re going to be close up against the wall. Take your time and don’t get frustrated. Once you’ve installed the last piece of flooring down, remove the spaces from around the room. Reinstall your baseboards, trim, and any register or vent covers.
Congratulations, you just installed your laminate flooring!
Trust the experts
The professionals at Goshen Floor Mart have more than 25 years of experience in installing laminate flooring and they’re ready to share that knowledge with you. Call 574.642.4770 or contact us here CONTACT

If you're in the market for flooring feel free to contact Goshen Floor Mart. Remember, we are always happy to provide you with a free estimate. Call us today at 574.642.4770 or contact us here